Pamper yourself with an expert DIY facial treatment at home for healthy and glowing skin with this step by step guide.
There is nothing better than a facial when you’re trying to get your much-needed dose of rejuvenation. However, sometimes you’re too stretched for time and can’t book the appointment at odd hours. Fret not, for our facial routine will help you look radiant with just some simple ingredients in your kitchen:
1. Cleanse
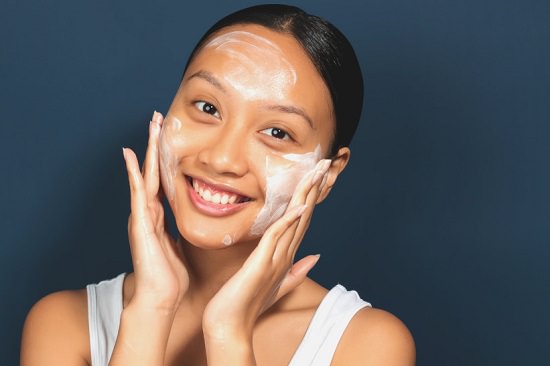
Cleansing is an important step before any face care routine as it rids your skin of all the toxic impurities. For your facial at home, raw honey can act as an excellent substitute for an over-the-counter cleanser. Its hydrating and antibacterial properties will leave your skin feeling smooth, supple, and soft. All you need to do is wash your face with water, spread two to three teaspoons of honey evenly over it and massage for five to ten minutes. Wash it off with water and pat dry with a cotton cloth.
2. Exfoliate
Exfoliation is yet another important step for facial since it removes dead skin cells and unclogs pores. Not only this, but it also uncovers the natural, healthy layer of skin lying underneath, thus making it look naturally radiant. You can prepare your own scrub for your homemade facial by mixing ground oatmeal with honey and olive oil. Simply massage it over the cleansed face with circular motions for two to three minutes or until it dries and wash it off with lukewarm water. If you have oily skin, you can combine one teaspoon of honey with a teaspoon of sugar and water for the best results.
3. Steam
Steam is extremely beneficial for skin as it relaxes your skin and unclogs the pores. It also enables your skin to release toxins, thus allowing it to soak all the benefits of facial. You can give your face steam even if you don’t have a steam dispenser. Just soak a towel in some hot water and lightly dab your face with it. You can even place a towel over your head and lean into the hot water basin. You can also add essential oils like rosemary and lavender to give your steam an extra kick. However, do take care that you don’t burn your skin in the process, keep the towel only a little warm.
4. Face Mask
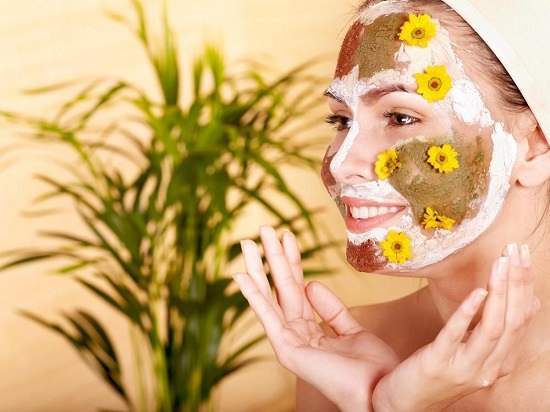
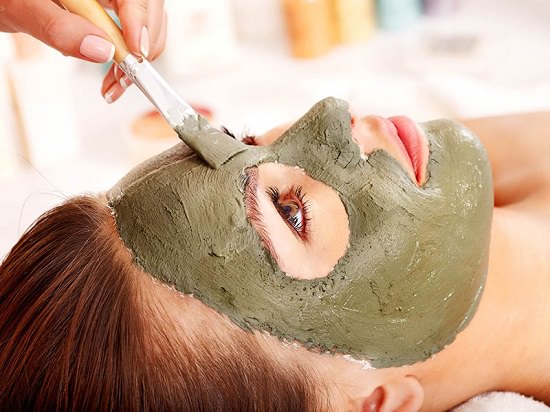
After steaming, your skin is ready for its much-needed dose of rejuvenation. A DIY facial treatment at home will work just as fine for this process as a regular one since natural ingredients are entirely organic and are free from any harmful chemicals.
If you have a normal or combination skin, then you can mix one tablespoon of honey with one tablespoon of yogurt. Fuller’s earth mixed with honey works best for oily skin, whereas mashed banana mixed with honey will benefit dry skin.
5. Tone
Toner is probably one of the best skin pampering step since it helps to seal the pores and allows your skin to shut out all the toxins from settling in your skin. Thus allowing it to derive full benefit from the facial. You can mix one teaspoon of water with half a teaspoon of apple cider vinegar for toner as this will also help to balance the pH level of your skin.
6. Moisturize
Moisturizing is important as it allows your skin to retain all the benefits of your skin. Almond oil acts as a perfect moisturizer as it helps in keeping it nourished.
Pampering yourself is always a wonderful experience. These simple DIY facial treatment at home steps will help you look flawless with minimum effort!

